
What Is the Best Way to Make Milk Kefir?
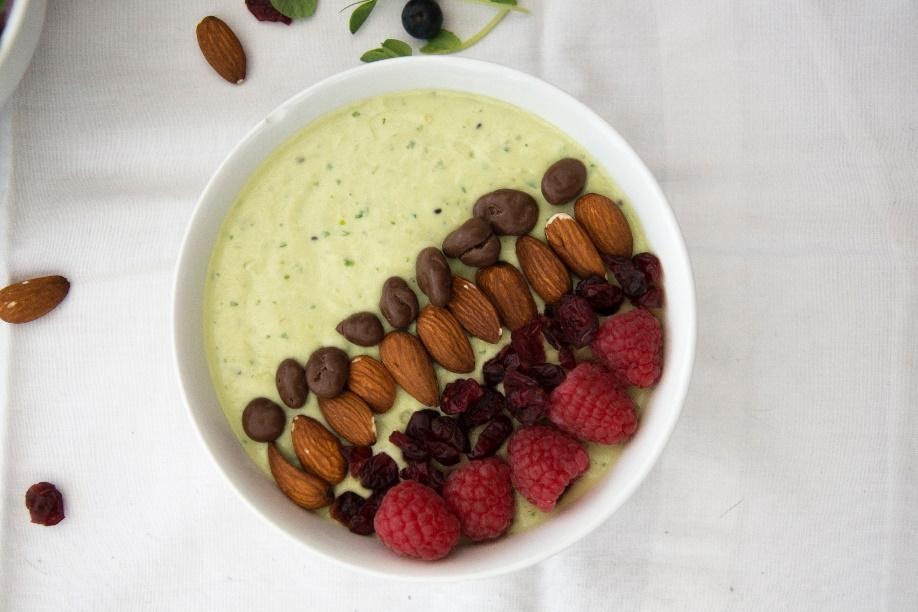
Kefir is a fermented, thick milk drink that tastes very similar to Greek yogurt. It has a very creamy and slightly sour taste that many consider to be an acquired taste. In addition to that, it has even friendlier and healthier probiotics than regular yogurt. So, if you have been curious about milk kefir, how to make it or want to learn more about the fermentation process, continue reading below.
Kefir Grains
In order to begin the process of making milk kefir, the first thing you will need to do is get some kefir grains. These grains are important because they are the catalyst that will kickstart the fermentation process.
Kefir grains contain bacteria and yeast that are needed in order to ferment the milk and transform it into creamy kefir.
These grains usually grow with each batch, and it is common for people to have more kefir grains than they will ever need. As a result, it is usually very easy to find someone selling or giving kefir grains away for free. You can purchase kefir grains locally, online or even buy dehydrated ones on sites like Amazon.
Milk
There is only one other ingredient that is necessary to make milk kefir, and that is milk! For those who are new to making milk kefir, the best milk to use is one that is pasteurized. However, you can decide to switch to raw milk if you prefer once the kefir grains have become settled in their new environment.
Keep in mind that kefir grains are typically happier and stronger when you feed them with whole milk. So, you can choose between whole cow’s milk, whole sheep’s milk or whole goat’s milk when making your milk kefir.
What Supplies Do You Need?
Now that you know the ingredients that you will need in order to make milk kefir, what supplies will you need to make the kefir? The following list includes the supplies you will need to have on hand before you start the fermenting process:
– Storage jar for milk kefir
– Non-metal wide bowl
– Slotted spoon (non-metal)
– Woven cloth
– Paper towels
– Coffee filters
– Colander (non-metal)
– Glass or ceramic jug that hold 5 cups
The Process to Making Your Milk Kefir
The first step in the process is to clean. You want to make sure that you have cleaned all of your supplies with warm water and soap. This means every jar, spoon, bowl and even your hands need to be thoroughly cleaned. Avoid using any anti-bacterial soaps or sanitizers.
Next, you will need to take one tablespoon of the kefir grains and place it in a large glass jug with about 4 cups of milk. Make sure you keep the jug covered by using several coffee filters or several layers of paper towels. Keep the covering secure with rubber bands to prevent dust and/or bugs from getting into the jug.
After that, the fermentation process will begin. Place the jug in a dark, warm spot for at least 24 hours. The temperature in the area should be between 65 degrees F and 85 degrees F.
You will know that the kefir is finished when the mixture has a thicker texture and a fermented smell. If you have noticed that the kefir has started to separate into whey with a watery yellowish color, that is okay. The only thing it means is that the next time, you will need to increase the milk volume, or you will need to shorten the length of fermentation.
Then, take the wide bowl and place it under the colander. As previously mentioned, both of these supplies have to be non-metal.
Pour the kefir into the colander and stir it with a wooden or plastic spoon so you can firmly force the kefir to go through. Once you are finished, the only thing that should be left in the colander is the kefir grains.
Take the jug that you fermented the kefir grains in, rinse it out well and then place the grains back into it. You can add 4 more cups to the grains and start the process again. You may need to add more milk depending on the results of the previous fermentation.
You are now ready to store the milk kefir that you have just made. Take the finished milk kefir and transfer it into a sealable jar. It can be safely stored in the refrigerator for up to two weeks.
For those who are new to making milk kefir, the following is a frequently asked question.
Why Do The Supplies Have To Be Non-Metal?
You have to keep in mind that you are dealing with cultures, which are living organisms. Any type of metal can be dangerous to the microbes, especially during the fermentation process.
Eliminate any contact between kefir grains and metals, and never brew milk kefir in a metal bowl or jar.
Milk kefir is a healthy, natural probiotic drink that has many health benefits. By learning how to properly make and store the product, you can begin your journey to better health.